Windows 11 - SSH Agent Setup

While OpenSSH is now a part of Windows, the service comes disabled by default.
To enable it, follow these straightforward steps:
- Open Services from the start menu.
- Scroll through the list of services until you find "OpenSSH Authentication Agent." Right-click on it, and in the context menu, select "Properties."
- Adjusting Startup Type for OpenSSH Authentication Agent In the Properties window, locate the "Startup type" dropdown menu initially set to "Disabled." Choose "Automatic" from the dropdown options.
- Click "Apply" to confirm the changes, and then click "OK" to close the Properties window.
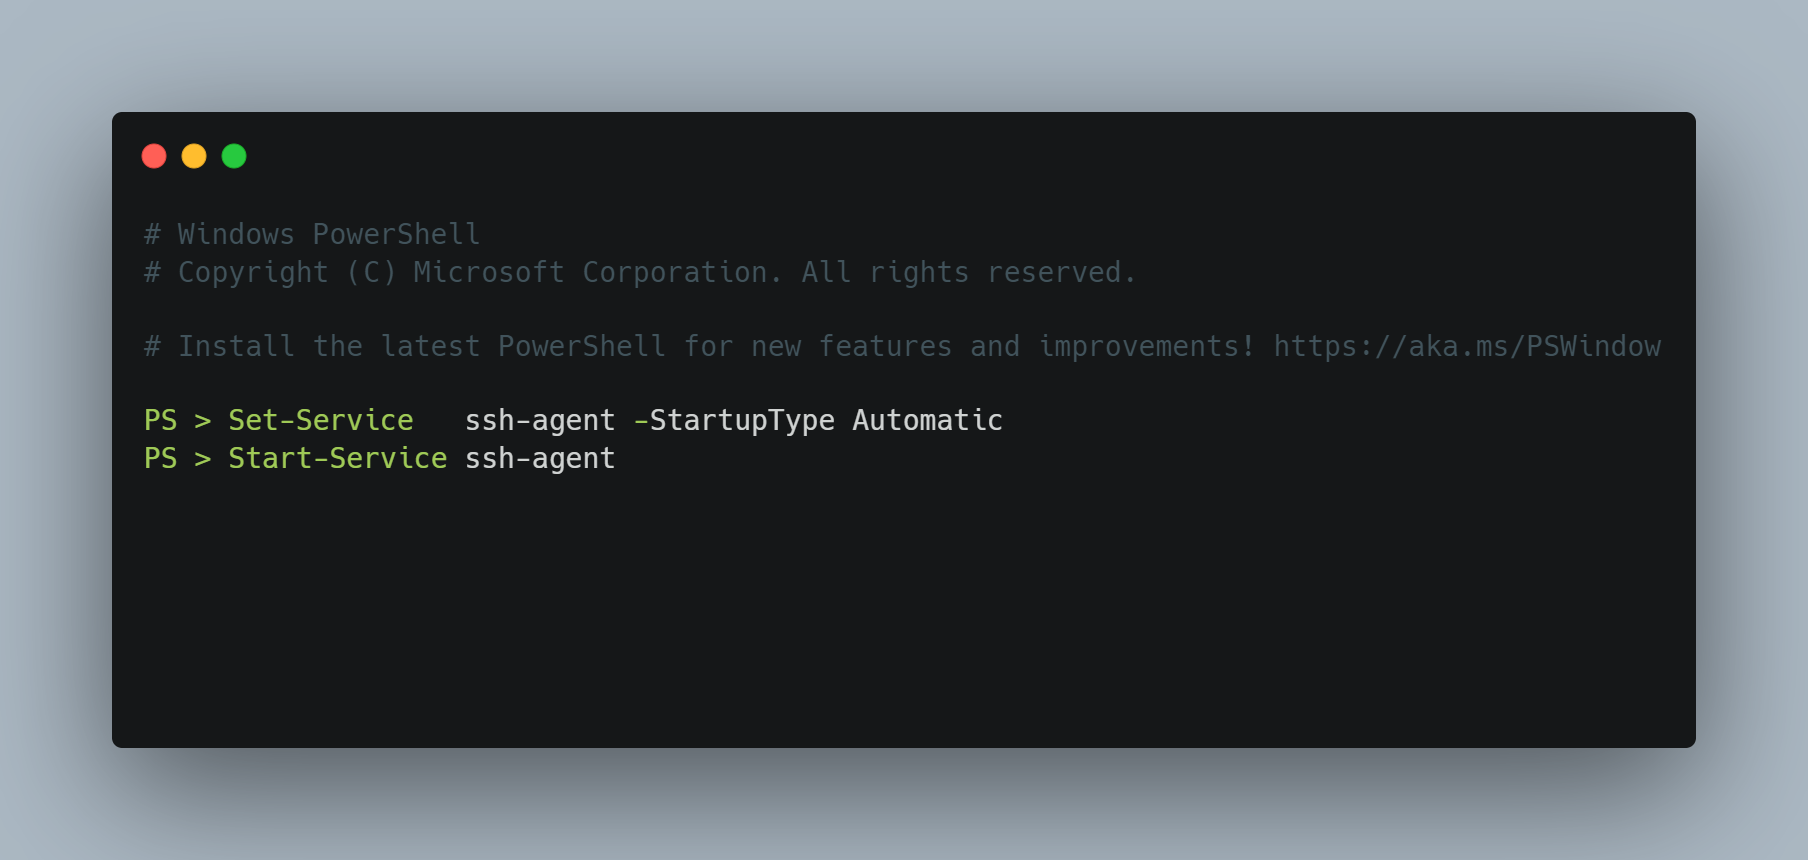
Alternatively, if you're familiar with command-line operations, access the terminal in "Administrator" mode and input:
Set-Service   ssh-agent -StartupType Automatic
Start-Service ssh-agent
Congratulations! You've successfully enabled OpenSSH on your Windows 11 system.